Have you ever had difficulty sorting a Power Apps gallery? Using the Switch function is the usually the best way to do this. In this post, I’ll demo how to allow your users to sort a Power App gallery by their chosen column whilst avoiding delegation issues
Sorting & Delegation Issues
The coding required for sorting a Power Apps gallery is a bit more complex than you’d expect it to be. This is because the Sort formula cannot include any other operators or functions otherwise delegation issues are likely to be encountered
This means that if you want to give your users the option to sort by 2 or more columns, you can’t include all the options in a single Sort command. If you are new to Power Apps, it can be tempting to creating a series of nested If statements that can be unnecessarily complex to write and debug
The Switch function is a way better alternative!
Sorting A Power Apps Gallery
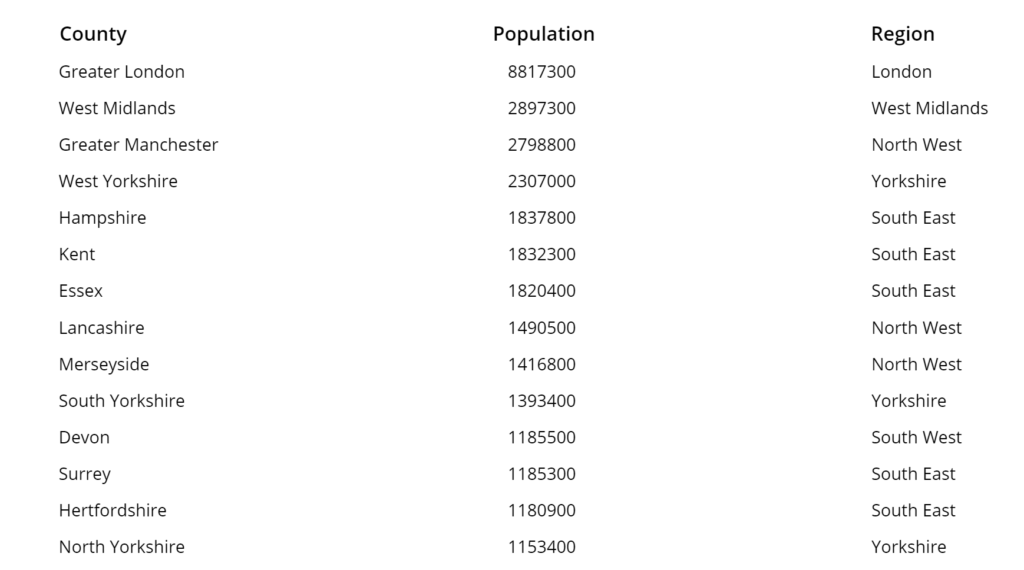
I have a simple table in Dataverse that contains data on all the UK counties. It has just 3 custom columns:
County_Name (Text Column)
County_Population (Whole Number Column)
County Region (Lookup to the Region table that lists all the Regions in the UK. A region can contain many Counties)
Below is a sample of the unsorted data displayed in a gallery
To give the user the capability to sort the data by Name or Population, add a ‘downchevron’ icon against each column. Set the OnSelect property of each icon respectively:
By default, when the user first launches the app, the value of the locSortColumn variable will be blank. There are 2 options here. The first is to define a value for the variable using the OnVisible property of the screen. The other option is to set the default value within the Switch function itself
I’m setting the default within the Switch function so that when the user first arrives on the screen the gallery is sorted alphabtecially by the County name:
As a finishing touch, set a border for each of the chevron icons to indicate it has been selected. Set the BorderThickness property of each icon respectively to the following
Now when the data is sorted, the respective icon has a solid border
Additional columns can be easily added by assigning each new colum its own specific locSortColumn name and adding it as an additional parameter to the Switch function
The use of the Switch function for sorting a power apps gallery in this way works with all data sources