SVGs or Scalable Vector Graphics are an XML-based format for 2D graphics. There are many things that are possible with SVGs that JPEGs, PNGs & GIFs can’t even come close to such as animation and scalability. Using SVG in Power Apps is more versatile because you’re telling the browser to create the graphic as opposed to just displaying it. Consequently, SVGs are also much quicker to load than graphic files
Creating SVGs
The only reason that SVGs are not used as much as image files on the web is that they require a bit of a learning curve that isn’t required with image or graphic formats. But that’s not a problem for Power Apps developers
SVG in Power Apps
To add SVGs to Power Apps, all you need to do is insert an Image control and assign the following code format to the image property:
The code in grey should remain unchanged but the code in bold needs to be modified to create the desired SVG effect
The Viewbox Attribute
The viewBox attribute is defined by four parameters: Viewbox = ‘min-x, min-y, width, height’. The numbers are separated by whitespace and/or a comma
The viewbox parameter creates a virtual box within a Power Apps Image control
The intricacies of exactly how the virtual box is positioned within the image control is beyond the scope of this article – however, understanding the finer detail isn’t required to use SVGs in Power Apps. If the values of min-x and min-y are set to 0; and the value of width and height match the dimensions of the Image control, the Viewbox will overlay the Image control exactly. This also has the advantage that the Viewbox parameters are now specified in pixels
Now the Viewbox attribute has been defined, one or more shapes can be specified to exist inside it
Adding SVG Shapes
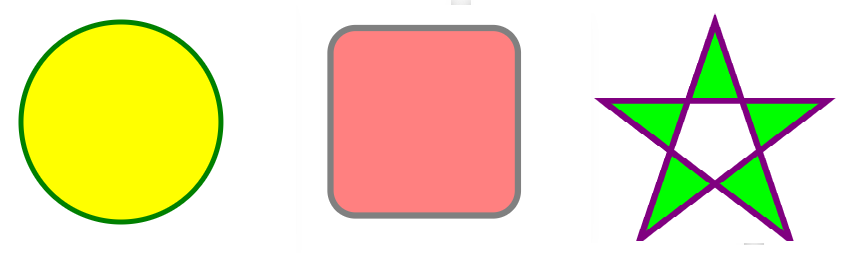
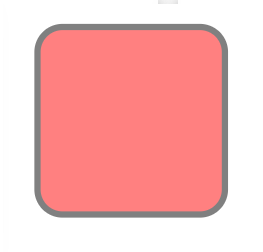
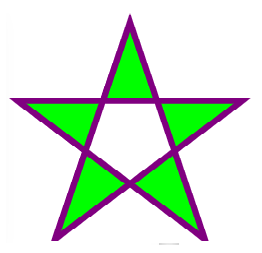
In the example below a Viewbox of dimensions 200×200 has been overlaid on an Image control of the same size. Then 4 shapes have been added to each of the quadrants. Their location in the Viewbox is specified by the X and Y values
Checkout w3schools.com for more info on the SVG shapes that can be used and their additional attributes such as borders and rounded corners. Just bear in mind that all the quotation marks need to be single rather than double to be used in Power Apps
We’ve only scratched the surface with SVGs in this article. Shadows, color gradients, animation, more complex shapes and even intricate icons can be created. All this to follow in future posts